开了VPN国内网站变卡,关了又上不了GitHub?5种方案帮你一劳永逸
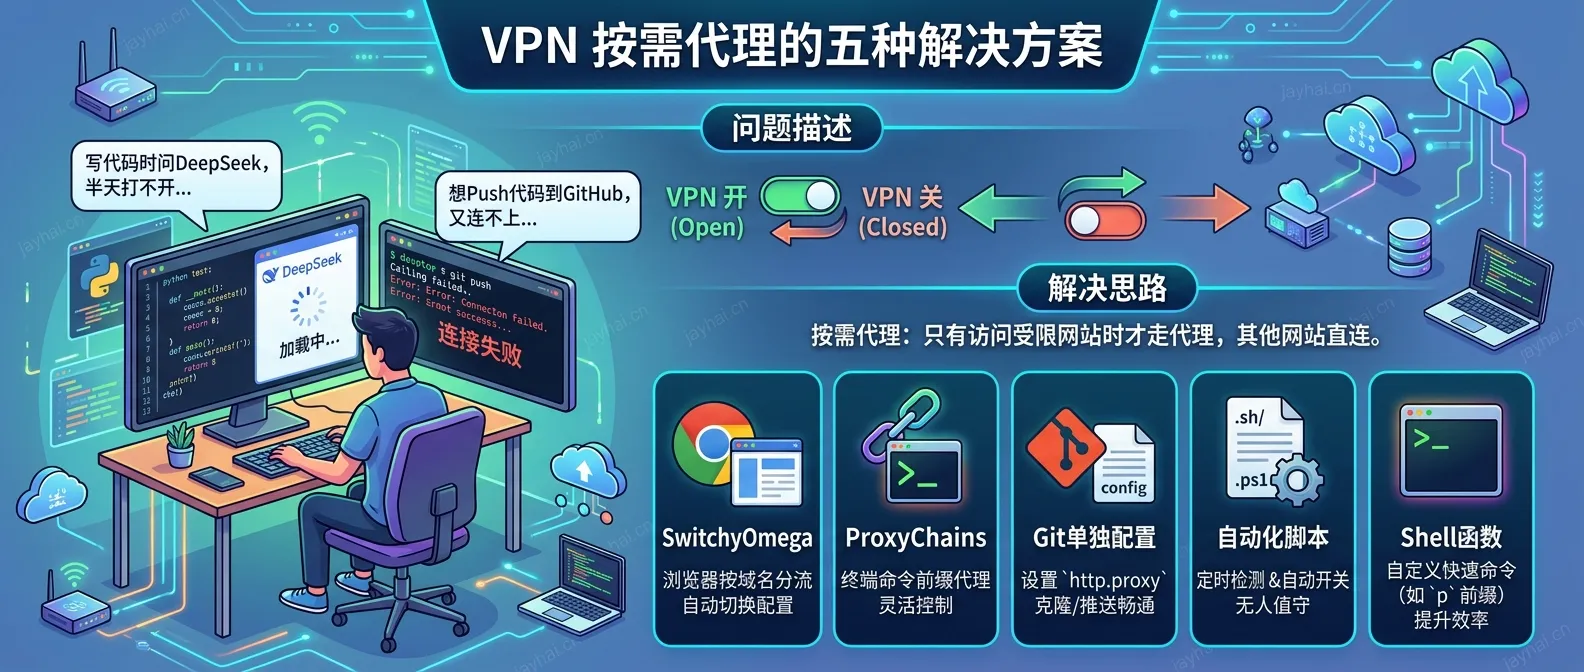
作为开发者,你一定经历过这种抓狂时刻:开着VPN写代码,DeepSeek问个问题半天打不开;关掉VPN想push代码到GitHub,又死活连不上。每天在开关VPN之间反复横跳,烦不胜烦。
其实,这个问题的本质很简单——我们需要的不是全局代理,而是按需代理:访问GitHub、Google时自动走代理,打开淘宝、百度时直连,全程无感切换。
下面我整理了5种实测有效的方案,从浏览器到终端全覆盖,总有一款适合你。
还没有VPN? 建议试试我用了五年的这款: https://w1.soxo.top/auth/register?code=LahV
二、解决方案概览
| 方案 | 适用场景 | 复杂度 | 推荐度 |
|---|---|---|---|
| SwitchyOmega | 浏览器访问 | 低 | ⭐⭐⭐⭐⭐ |
| ProxyChains | 终端命令 | 中 | ⭐⭐⭐⭐ |
| Git单独配置 | Git操作 | 低 | ⭐⭐⭐⭐⭐ |
| 自动化脚本 | 全场景 | 中 | ⭐⭐⭐⭐ |
| Shell函数 | 快速切换 | 低 | ⭐⭐⭐⭐ |
三、方案一:SwitchyOmega(浏览器智能代理)
简介
SwitchyOmega 是最成熟的浏览器智能代理插件,支持自动切换规则。
安装
- Chrome: Chrome 应用商店搜索 “Proxy SwitchyOmega”
- Firefox: Firefox 附加组件搜索 “SwitchyOmega”
- Edge: Edge 扩展商店搜索 “SwitchyOmega”
配置步骤
1. 创建代理情景模式
点击插件图标 → 选项 新建情景模式 → 选择”代理服务器” 填写VPN代理信息:
- 代理协议:SOCKS5 或 HTTP
- 代理服务器:127.0.0.1
- 端口:VPN端口(如 7890、1080)
2. 配置自动切换模式
新建情景模式 → 选择”自动切换模式”
规则列表设置:
- 规则列表网址:https://raw.githubusercontent.com/gfwlist/gfwlist/master/gfwlist.txt
- 点击”立即更新情景模式”
切换规则设置:
- 默认情景模式:[直接连接]
- 规则列表匹配的情景模式:你的代理情景模式
效果
- 访问 GitHub、Google 等受限网站 → 自动走代理
- 访问百度、淘宝等国内网站 → 直连
四、方案二:ProxyChains(终端智能代理)
注:不要用,下面的proxy_on/proxy_off好用
简介
ProxyChains 可以让指定命令走代理,不影响其他程序。
安装
# macOS
brew install proxychains-ng

# Ubuntu/Debian
sudo apt install proxychains4

# Arch Linux
sudo pacman -S proxychains-ng
配置
编辑配置文件:
# macOS
vim /usr/local/etc/proxychains.conf

# Linux
sudo vim /etc/proxychains4.conf
在文件末尾添加代理:
[ProxyList]
socks5 127.0.0.1 7890
使用方式
# 单个命令走代理
proxychains4 git clone https://github.com/user/repo.git

# curl 走代理
proxychains4 curl https://github.com

# 整个shell会话走代理
proxychains4 bash
五、方案三:Git 单独配置代理
简介
仅让 GitHub 相关的 Git 操作走代理,不影响其他仓库。
配置命令
# 设置仅 github.com 走代理
git config --global http.https://github.com.proxy http://127.0.0.1:7890
git config --global https.https://github.com.proxy http://127.0.0.1:7890

# 验证配置
git config --global --get http.https://github.com.proxy

# 取消代理
git config --global --unset http.https://github.com.proxy
git config --global --unset https.https://github.com.proxy
效果
- 访问 GitHub → 走代理
- 访问 Gitee、GitLab 等 → 直连
六、方案四:自动化脚本
智能代理开关脚本
创建文件 ~/bin/smart-proxy.sh:
#!/bin/bash

PROXY_HOST="127.0.0.1"
PROXY_PORT="7890"  # 替换为你的VPN端口

# 检测 GitHub 是否可访问
check_github() {
    if curl -s --connect-timeout 3 https://github.com > /dev/null 2>&1; then
        return 0
    else
        return 1
    fi
}

# 设置代理
set_proxy() {
    export http_proxy="http://${PROXY_HOST}:${PROXY_PORT}"
    export https_proxy="http://${PROXY_HOST}:${PROXY_PORT}"
    export all_proxy="socks5://${PROXY_HOST}:${PROXY_PORT}"
    echo "✅ 代理已开启: ${PROXY_HOST}:${PROXY_PORT}"
}

# 取消代理
unset_proxy() {
    unset http_proxy https_proxy all_proxy
    echo "❌ 代理已关闭"
}

# 主逻辑
if check_github; then
    echo "🌐 GitHub 可直连,无需代理"
    unset_proxy
else
    echo "🔒 GitHub 不可访问,开启代理..."
    set_proxy
fi
使用方式
# 添加到 ~/.zshrc 或 ~/.bashrc
source ~/bin/smart-proxy.sh

# 或手动执行
~/bin/smart-proxy.sh
七、方案五:Shell 函数(快速切换)
配置
添加到 ~/.zshrc 或 ~/.bashrc:
# 代理快捷命令
proxy_on() {
    export http_proxy="http://127.0.0.1:7890"
    export https_proxy="http://127.0.0.1:7890"
    export all_proxy="socks5://127.0.0.1:7890"
    echo "✅ 代理已开启"
}

proxy_off() {
    unset http_proxy https_proxy all_proxy
    echo "❌ 代理已关闭"
}

# 测试 GitHub 连接
test_github() {
    if curl -s --connect-timeout 3 https://github.com > /dev/null 2>&1; then
        echo "✅ GitHub 可访问"
    else
        echo "❌ GitHub 不可访问,请开启代理"
    fi
}

# Git 代理快捷命令
git_proxy_on() {
    git config --global http.https://github.com.proxy http://127.0.0.1:7890
    git config --global https.https://github.com.proxy http://127.0.0.1:7890
    echo "✅ Git GitHub 代理已开启"
}

git_proxy_off() {
    git config --global --unset http.https://github.com.proxy
    git config --global --unset https.https://github.com.proxy
    echo "❌ Git GitHub 代理已关闭"
}
使用方式
proxy_on       # 开启代理
proxy_off      # 关闭代理
test_github    # 测试连接
git_proxy_on   # Git 专用开启
git_proxy_off  # Git 专用关闭
八、推荐组合方案
| 使用场景 | 推荐方案 |
|---|---|
| 浏览器访问 GitHub | SwitchyOmega 自动切换 |
| 终端 Git 操作 | Git 单独配置代理 |
| 终端其他命令 | ProxyChains 或 Shell 函数 |
| 一键智能切换 | 自动化脚本 |
九、快速配置清单
# 1. 浏览器:安装 SwitchyOmega,配置自动切换规则

# 2. Git:仅 GitHub 走代理
git config --global http.https://github.com.proxy http://127.0.0.1:7890
git config --global https.https://github.com.proxy http://127.0.0.1:7890

# 3. 终端:添加 Shell 函数到 ~/.zshrc

# 4. 测试
curl -I https://github.com
git clone https://github.com/user/repo.git
十、注意事项
- 代理端口:根据你的VPN软件确认代理端口(常见:7890、1080、10808)
- 代理协议:SOCKS5 通常比 HTTP 更快更稳定
- VPN设置:确保VPN开启了”允许局域网连接”(Allow LAN)
- 规则更新:SwitchyOmega 的规则列表需要定期更新